Whether you are new to the product manufacturing industry or a veteran, you must be well aware of the term prototyping.
Here’s a refresher:
A prototype is a replica of a product which is used as an early model to test your product and get feedback from stakeholders before they can invest in your idea.
That being said, prototyping is an exhausting and time-consuming process in product design. It’s also an important phase that shouldn’t be overlooked.
To make things easier for you we’ve created this blog to quickly guide you through simple steps in prototype manufacturing.
Ready? Let’s get started.
Step 1: Start Crafting Your Ideas

Coming up with an idea for your product is one of the most challenging aspects of product design. After all, the first question any innovator would ask is “What should be the ideal design for my product and how would it look and feel?”
The answer depends on numerous factors such as top design trends in the market, your customer’s needs, usability, cost, competitors’ scenario, and your current position in the market.
To get started, here’s what you should do to streamline your idea generation process:
- Do thorough research: Understand your product’s market value, the competition it can face, its manufacturing process, and the overall cost.
- Have a brainstorming session with your team: Your team can give you some valuable technical and marketing insights.
- Understand that your product must first solve customer problems: Keep a note of what problems people are currently facing and how your product can solve it.
Step 2: Create a Rough Representation of Your Idea
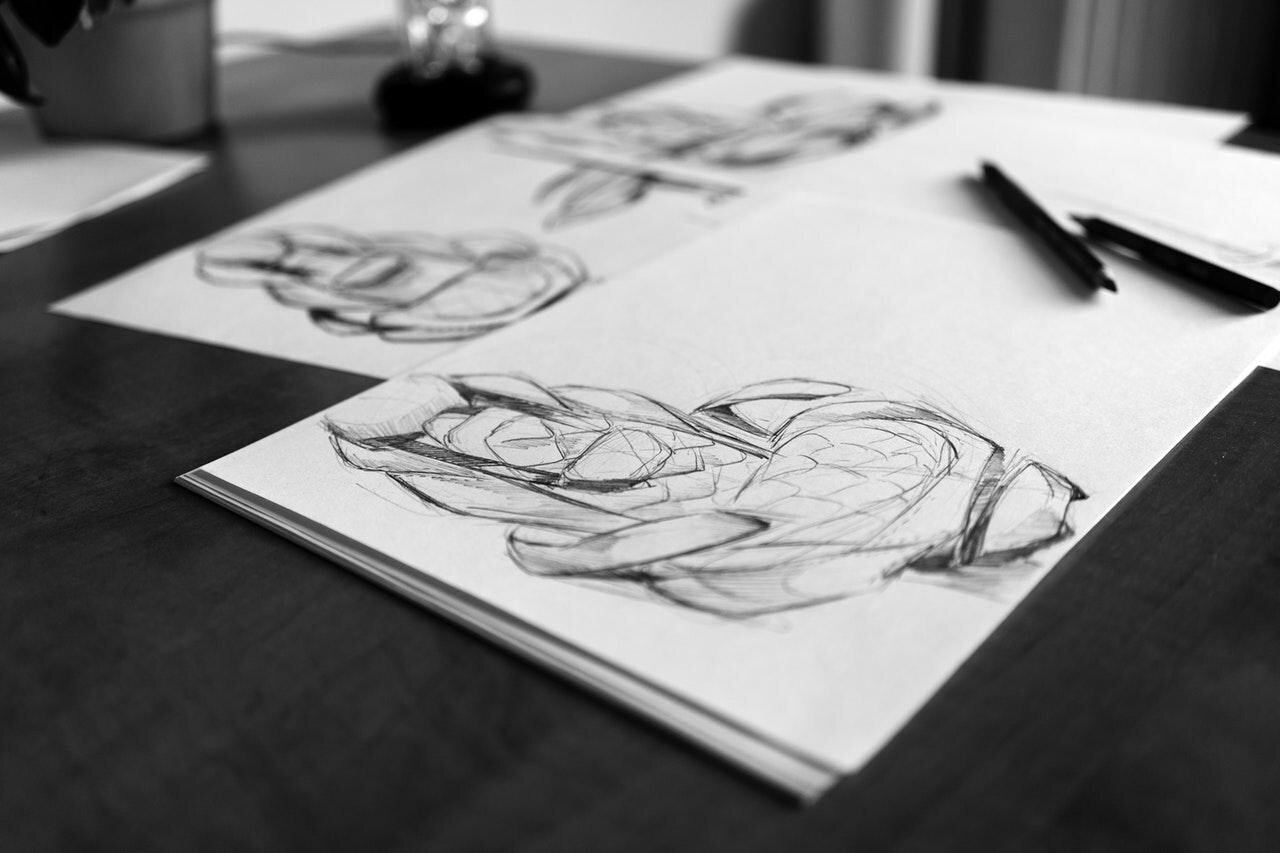
After doing some extensive research and finalizing an idea, your next step would be to create a simple representation of your idea.
As having a product representation in your mind won’t help, you’ll have to manifest your idea either on a piece of paper or virtually on a computer program.
Here’s how.
Nowadays, software technologies like CAD allow you to create a virtual 3D replica of your product. Not only will it give you a clear idea of your product’s size, dimensions, etc. but will also help you observe your product’s performance in a virtual simulation.
Having an early mockup also enhances the reputation of your product. It shows that you are serious about your product’s design and are willing to go the extra mile.
Now that you’ve created a rough mockup of your product idea, let’s move forward to the most important stage.
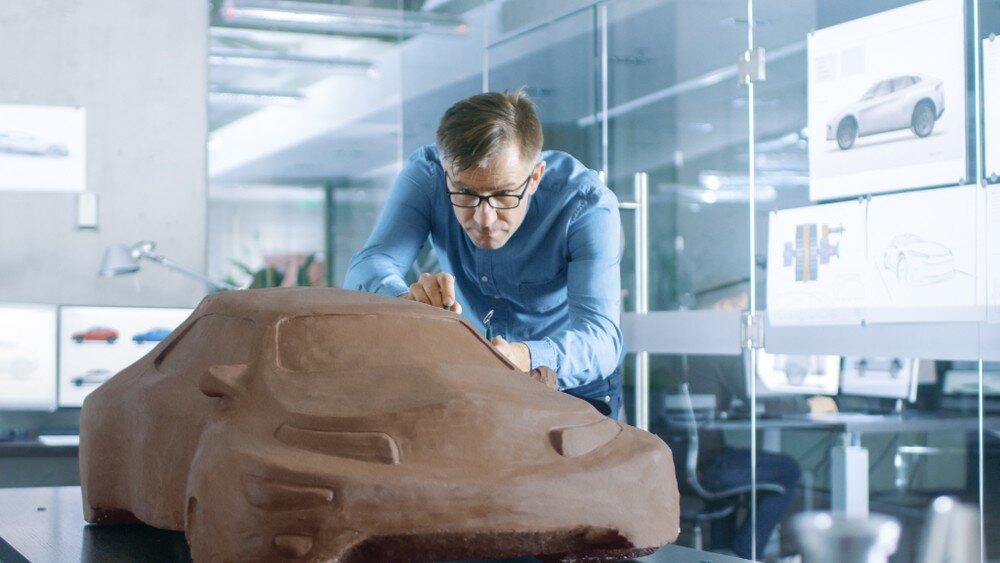
Step 3: Create a Physical Prototype

It’s during this stage that you actually start developing your prototype.
Remember, your physical representation should be rendered appropriately. It should be created in a way that it best represents your final product.
There are two approaches to creating a physical prototype for your product.
- 3D Printing
- CNC Prototyping
Let’s have a look at each of these prototyping approaches in detail.
3D Printing
3D printing technology has revolutionized the prototyping industry.
With 3D printers, you can mass-produce prototype samples quickly by adding simple inputs using a process known as rapid prototyping.
3D printing is recommended for industries which require frequent and disposable prototypes for visual representation purposes. These industries include jewelry, accessories, and other consumer goods.
Here are some pros and cons of using 3D Printing for prototyping:
Pros
- It’s cost-effective.
- Ideal for mass production of prototypes.
- Limitless visual customization options.
Cons
- 3D Printed prototypes can only be used for visual representation.
- Prototypes are fragile with moderate to low surface finishing.
- Prototypes lack functionality.
CNC Prototyping
CNC machining allows you to design the near-perfect and functional replica of your product.
CNC prototypes can also be used to showcase a working demo of your product to potential clients. CNC prototyping is ideal for products like industrial equipment, medical devices, etc.
Here are some pros and cons of CNC Prototyping.
Pros
- Prototypes are highly functional and can be used as a final product.
- Reduces time during early prototyping and final product manufacturing.
- Prototypes are of much higher quality than 3D printed versions.
Cons
- Huge purchase and installation cost.
- Operation requires expert assistance.
- Heavy maintenance is needed.
Bonus tip:
Virtually simulated prototypes can be your final prototype in some cases. This is possible especially if you are showcasing something like a real estate project, manufacturing plant, or a heavy automobile design that cannot be shown otherwise in a smaller space.
A virtual prototype shows your product’s scale and how it will actually function via virtual simulation.
Step 4: Refine Your Prototype to Perfection
This stage is the most painful and time-consuming one of all.
That’s because in this stage your product has to go through a series of redesigns to meet your desired expectations.
Here are some common reasons your products may require a redesign:
- Structural and functional problems in the early prototypes.
- Changing product trends in the market.
- Expanding the functionality of your product.
- Ergonomic issues.
Here are some things to keep in mind when working on your prototype refinement process:
- Keep yourself updated with current trends in product design to appeal to your target audience and maximize profitability.
- Be prepared for change. Understand that your product must undergo some changes in order to effectively launch in the market.
- Remember that your product will always have room for improvement.
- Never stop updating. The product manufacturing industry is constantly changing and so should your product. Keep experimenting with new ways to improve your product.
Bonus tip:
Don’t forget to patent your product within a year before making product disclosure to prevent plagiarism and duplication of your idea. Hire an expert patent lawyer to keep your ideas protected.
Final Thoughts
So there you have it. Simple yet important steps to help you at each and every stage of your product prototyping.
If you’re having some problems and need some professional prototyping solutions, you can always let us know.
Here at Imaginationeering, all we do is help our clients achieve great success with their product’s design and we can do it for you too.
For the state-of-the-art prototype development services, check out our extensive range of prototyping services.